In Photoshop sometimes we stuck on a selection where we want to invert selection in Photoshop, and we want the opposite of that selection. It’s frustrating if we don’t know about invert selection in Photoshop, because we must redo our entire selection to select what we want.
Now don’t waste your time redoing your selection, you can do it with a keyboard shortcut. CTRL + Shift + I on windows and CMD + Shift + I on macOS to invert your selection in Photoshop.
Let’s dive into more details about the process and learn about investing in Photoshop with a couple of ways to get the results that we wanted.
What is Selection in Photoshop?
How do you know the right selection in Photoshop? You make sure that you’re inverting the right thing. A selection is like marching ants. It’s a little black-and-white line that you created with selection tools.

You can make selections with Marquee Tool, Lasso Tool, and Quick Selection Tool.
With the help of selection, photoshop will know which area you want to work in. You can make a mask with selection, cut out the selection, or you can use them to make brush or adjustment clones.
With the selection in Photoshop, you can make advance level images, and the use of the selection tool is unlimited. So, let’s find out how to invert selection in Photoshop cc in an easy way.
How to Invert Selection in Photoshop shortcut
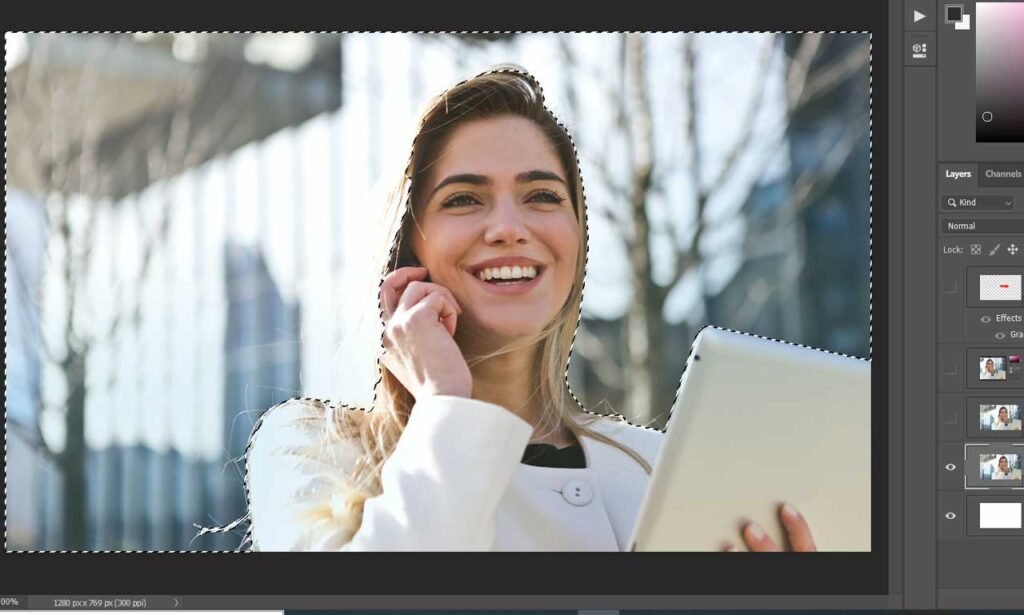
First Select the Quick Selection Tool.
I’m using the Quick Selection Tool for the Example. The keyboard shortcut to select Quick Selection Tool is W. Then click and drag the mouse to make a selection. When clicking the marching ants will show you which area is selected.
If your Quick selection tool is selecting extra parts, then you can remove that part on the top bar with a minus icon. You can also refine your selection by holding ALT and Clicking by mouse to remove extra parts in your photo.
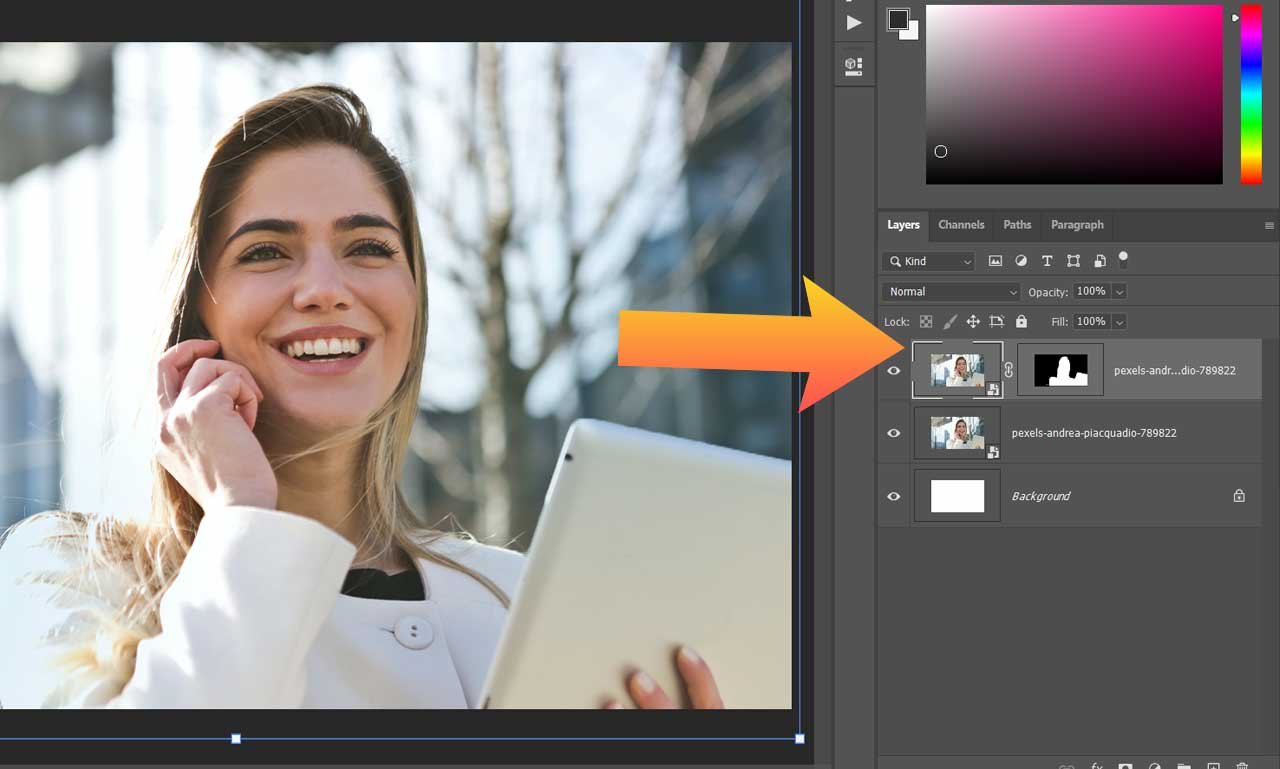
After selection you also want that to Invert the selection in Photoshop to change some parts. Just press Shift + CTRL + I on windows PC and Shift + CMD + I on macOS, it will invert the selection in Photoshop and your selection will be reversed.
How To Check that your Selection is Inverted
At first sight, it will not look like something has changed. There is still a Quick selection tool is selected on the screen.
But when you look outside of the canvas, there you will see new marching ants around the edges of your image, which means your selection is inverted, and you can make changes inside the marching ants area.
You can double-check the selection by changing the color with a hue adjustment layer.
Why do you want to Invert Selection in Photoshop?
So now why do you want to invert selection in Photoshop instead of creating a new layer?
This inverted feature will save you lots of time.
Rather than wasting time on your selection, you can invert selection in photoshop easily and instantly. In this way, you will get a perfect selection.
Other Ways to Invert selection in Photoshop
If you are just a beginner, then you must know how to use it in the Photoshop menu.
First, go to the top menu bar in photoshop then go to Select > Inverse. Your selection will be inverted. You can also switch back to your selection by clicking again on Inverse.
The second option is to Right click on your selection and then choose Select Inverse. This will also invert your selection in Photoshop.
This is how you can invert selection in Photoshop 2022. You can also Read our Tutorials on Adobe Photoshop. We have also added Adobe illustrator Tutorials, Adobe After Effects Tutorials, Adobe Premiere Pro Tutorials, and DaVinci Resolve Tutorials.
Conclusion
In this article, you have learned how to invert selection in Photoshop. Rather than wasting time on your selections to adjust. The invert option swapped to the opposite selection area easily. This feature works well when you are working on a big project with layer masks or trimming objects from images.