What is the Knife tool in Adobe Illustrator? It’s an awesome tool that can create some unique designs. It can help you a lot to separate shapes, cut out a shape, or edit any kind of image.
Learning this tool is quite easy and it’s a useful tool. It can divide parts of shape or text to make them a different look. For example, I used to make a shape layer divided into three parts and all with different colors.
Here I will show you how to use the knife tool in Adobe Illustrator to cut objects and text.
Note: the screenshots in this tutorial were taken from Adobe Illustrator 2022. Maybe your version can look different.
How to Use Knife Tool in Adobe Illustrator to Cut Objects
With the help of a knife tool, you can cut or divide any vector shapes. To edit a raster image, you have to trace it and make it editable.
Step 1: Make a New Shape in Adobe Illustrator. I’m using the Rectangle tool to draw a square. The keyboard shortcut for the Rectangle tool is M.

Step 2: Now find the Knife Tool in the toolbar, if you won’t see the knife tool in the toolbar. Then add it from three dots on the toolbar, which is the last option.

Step 4: Now Drag the Knife Tool into the toolbar. This tool doesn’t have a keyboard shortcut.
Step 5: You can Draw through the shape to cut it to anything you want, like a straight cut, or you want a path that you draw to cut the path/shape. If you want to separate the shapes into multiple pieces, then you must draw through the entire shape which you want to be cut.

If you want to cut on a single straight line, then hold the ALT key in Windows (Option key in macOS users) when you are drawing.
Step 6: Now use the Selection Tool (keyboard shortcut is V) to select a shape then edit it. I’m selecting the bottom part and changing its color.

We can also change the position of both separated layers.

You can also create another shape by cutting multiple times on a shape.

How to Use Knife Tool in Adobe Illustrator to Cut Text.
Before using the Knife Tool in Adobe Illustrator to Cut Text, you have to outline the text first, it will not work on the live text. When you are adding text in Adobe Illustrator by using the Type Tool is Live text. You will see a line under the text, then you have to outline the text before using the Knife tool to cut text in Adobe Illustrator.
Step 1: Add your text, then select it and press CTRL + Shift + O in windows and CMD + Shift + O in macOS to create an outline.
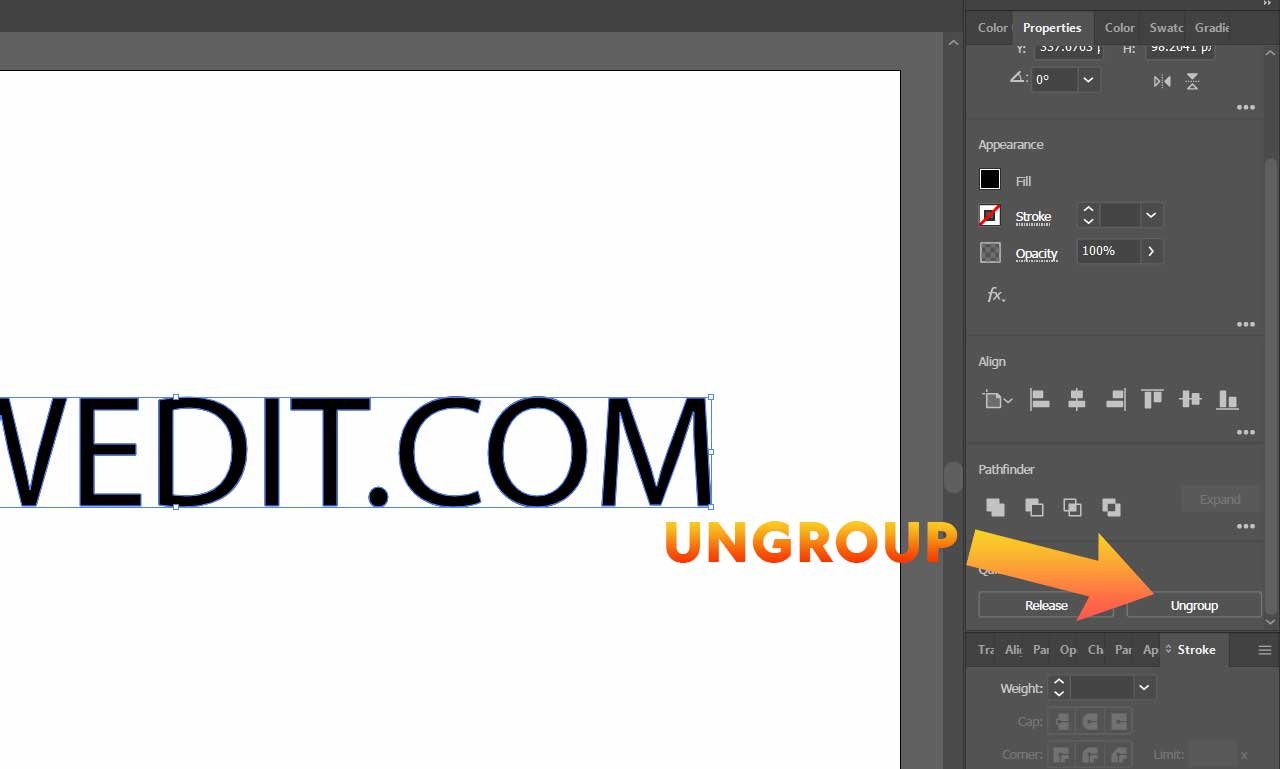
Step 2: Now select the text, then go to the Properties panel, scroll down and find Quick Actions. Select Ungroup there.
Step 3: Use the Knife tool and draw wherever you want on the text, you will see the cut on line where you have used it. 
It’s time to color the text, you can select any individual part and color them.

You can also separate the cut parts as you want. Just select the part which you want to move or separate with the selection tool and move them. You can also group the parts after coloring them by going to the Properties panel.

You can also divide the full text and select single text on it. Here you have learned the Knife Tool in Adobe Illustrator 2022.
Conclusion
Before you use the Knife tool make sure you keep in mind a couple of things. When you are cutting text, then you must create an outline for the text first, it won’t work until outlined. The Knife tool can only cut vector images, if you are using a raster image, then you must vectorize it first to make the cut on it.