Preview of Smooth Tool in Illustrator
Smooth Tool in Illustrator is a tool loved by lots of designers. The smooth tool will create curves on the rough edges of any artwork and objects. With this feature, you can make your work looks smooth and glossy if you want. This smooth tool in Illustrator also helps you to control the smoothness amount according to your needs. You can also make pencil sketches or drawings look smoother and glossier with no rough edges.
How to Use Smooth Tool in Illustrator 2022
We are making the step-by-step process to turn straight lines into beautiful curves.
Open Adobe Illustrator and Create a new file, select the dimensions according to your project and press Create.

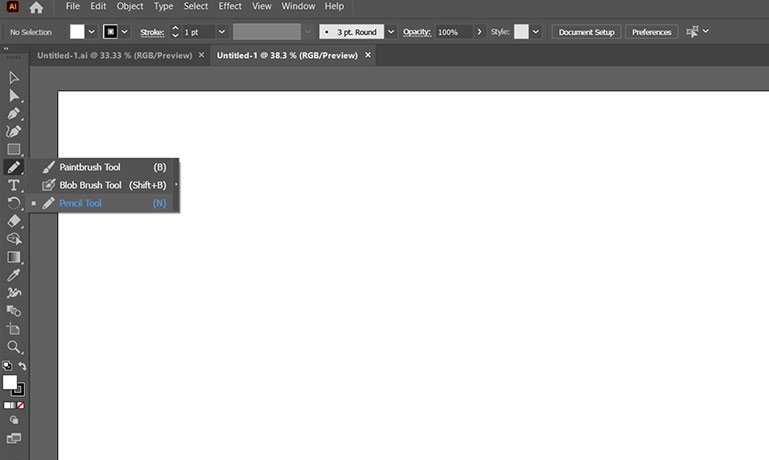
Step 2: Now we are going to select the pencil tool and create something, to do that go to Tools and select the pencil tool. You can also use the keyboard shortcut N to use the pencil tool.
Step 3: You can draw lines with Pencil Tool. I will make some on my project also. As you can see the drawn line is uneven and the shape is also not good with edges also. Now we will clean the rough edges and make a nice and curvy shape with the help of a smooth tool in illustrator.
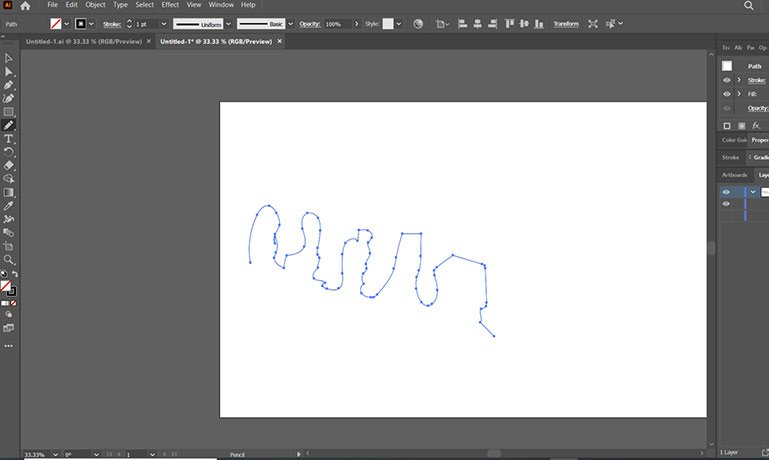
Step 4: After making the lines, the illustrator will show us points at the lines.
Step 5: We also have another option to get smooth edges by using the Direct Select Tool, the keyboard shortcut for this tool is A. You have to use this tool to adjust the points to get smooth edges in illustrator.

After Using the Direct Selection Tool, the edges got Smoother.
Step 6: We have used the Direct Selection Tool but it’s not the same as the smooth tool. The smooth tool will smooth the line and rough edges. So, to use the smooth tool in illustrator, we have to select the smooth tool. Now go to the tools panel, click and hold the pencil tool and it will show us the option which is the smooth tool.
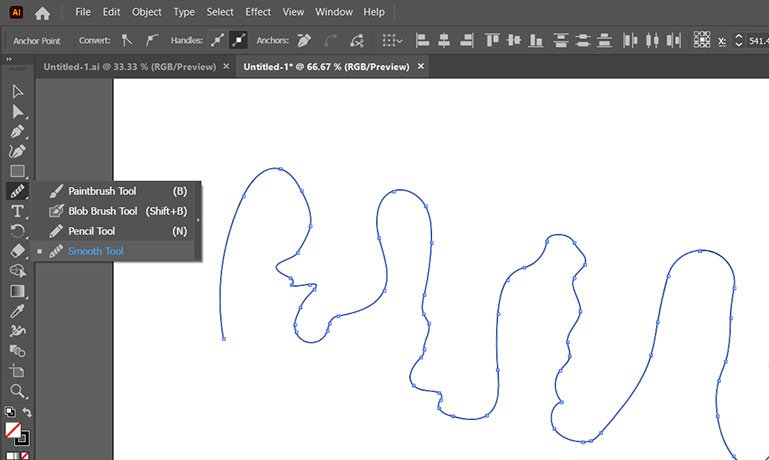
If you are unable to find the Smooth Tool, just press the three dots at the end of the Tools panel and add the smooth tool from there by dragging it to the pencil icon. It will show the Smooth Tool now.
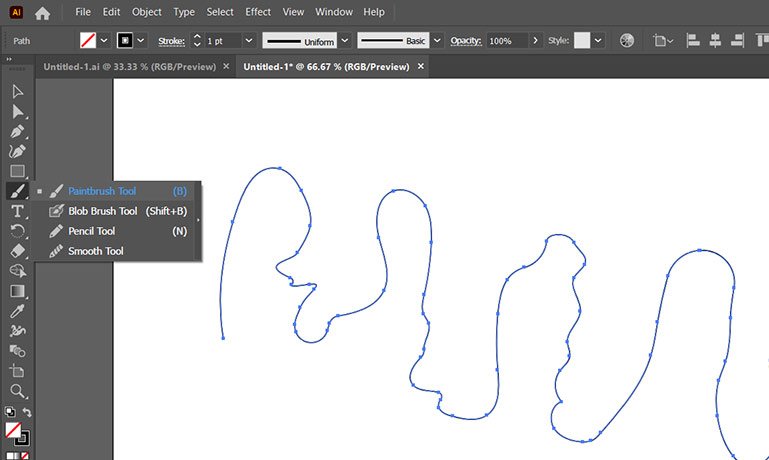
Step 7: You can also use another option to select the Smooth Tool, just select the brush tool from the toolbar panel and use it by holding the ALT key. After holding the ALT key it will work as a smooth tool, when you finished the work hold ALT again and release the ALT key it will again convert to a brush tool.
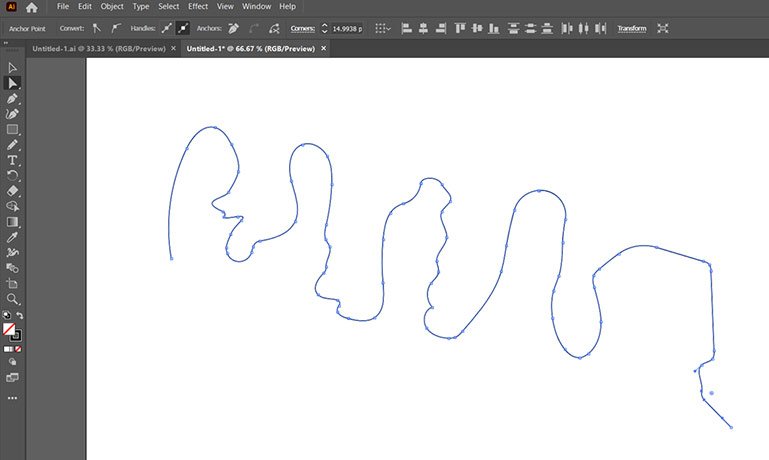
Step 8: Now let’s use the Smooth Tool in illustrator, hold click and draw the lines on rough edges and we will see the line is getting smoother. Use it until you get your desired results.
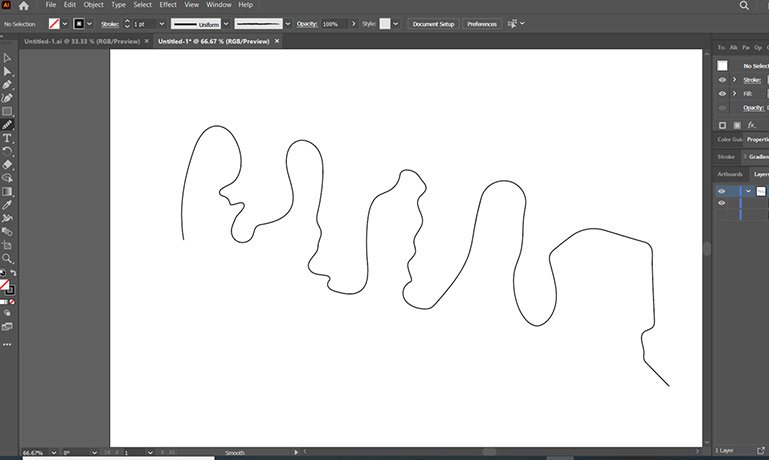
You can compare it with the previous images; we have changed the curves with the smooth tool in illustrator. It will smooth uneven lines, rough edges, or uneven corners. When you use the smooth tool, it will adjust the anchor point and provide us with the smoothest lines or fine edges, it will make every curve smooth and even.
If somehow you are getting problems using this tool at some point I was getting problems smoothing some small curves. Then you just need to use the Direct Selection Tool, which helped me to curve the smallest curve. If you don’t like the curve after smoothing, you can also shift its position with the help of going Direct Selection Tool.
You can also do the same with Pen Tool. Smooth Tool also works with the Pen Tool. Just try it.