When you are editing a big project every second counts. Here I will show you How to cut clip, split, Trim, Slip in After Effects, also I will provide you with keyboard shortcuts that will save you time.
In my last Article, I have shown How to add keyframes in After Effects, which will also be helpful to you. You can master the keyframe game by visiting the Article.
I have also provided the video tutorial. You can also watch it for easy learning. In-video keyboard shortcuts are different in Windows and macOS. In the window, we are using the CMD key and in macOS just change it to the Control key.
How to cut a clip in After Effects
How to cut a clip in After Effects: Full Explained
You can use Keyboard shortcuts, which can be most useful when you are editing a big video footage project and you can add-remove effects, change animation, re-parent layer, and lots of other things you can do.
To Cut and Split a layer, you just need to press Control + Shift + D in macOS just press CMD + Shift + D.
How to cut clip, split, Trim, Slip in After Effects

Here are other things you can Do.
How to Trim Layer in After Effects
When you are on a learning curve of After Effects and spent a lot of time dragging the in and out points of layers. You probably have been fed up with these, which is taking lots of time.
Now you can trim a layer to the current time indicator:
- Select which layer you want to trim and make it shorter.
- Move your time indicator to your desired location to trim
- Press ALT + [ to create a new in-point of your layer.
You can be very handy if your layer’s in or out point is extended out of your composition duration.

If you are using After Effects, you know that the updated duration of composition to find layers can’t stretch to the full length of the composition.
Here I will show you a quick solution.
- Press Control + A on windows and CMD + A on macOS to select all layers.
- Move your indicator to the end of the composition and Press ALT +] to move out point of the layer to the end.
Double-check your unselected layers that you don’t want to be trimmed shorter.
How you can move a layer to the current time indicator
When you are not looking to trim a layer, but want to move it. You just need this trick.
Moving a layer’s pre-existing in or out point to the current time indicator is really easy:
- Select which layer or layers you want to move. (You can also select multiple layers.)
- You need to Press the left bracket ([) to bring in the point of layers to the current time or press the right bracket (]) to set the out point of your layers.

This will amazingly helpful if you have long footage in your timeline and you want to see the end of the shot. This is better than dragging the layer left until you reach the endpoint.
How to slip layer in After Effects
The slipping command is rarely used in After Effects, but if you are a video editor you will be amazed by the work of this slipping tool.
What is slipping?
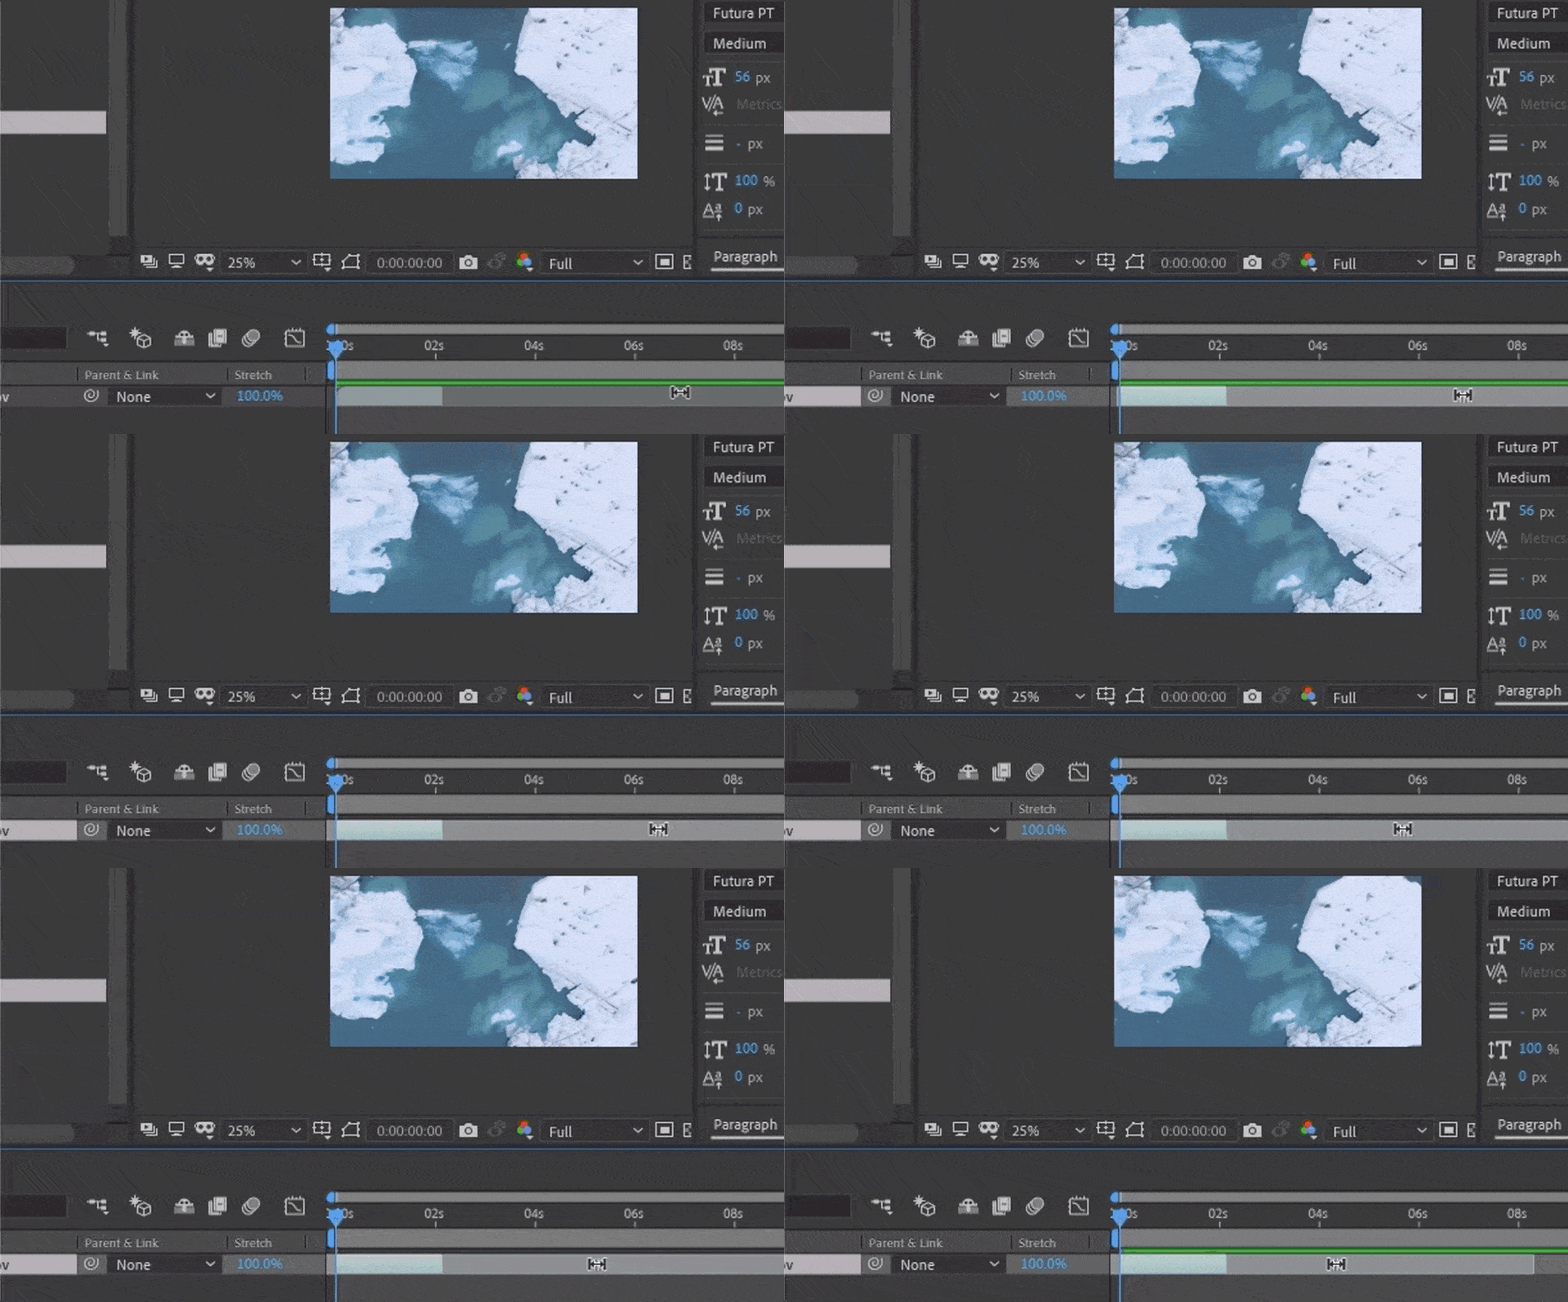
When you don’t want to change layers’ position in the timeline, you just want to change the video scene. You can pull the layer left or right to change the scene.

You already see the video in the composition is changing its scene, while we are slipping the in and out points from the layer. This will not change the time or duration of the clip.
To properly slip a layer, use the Pan Behind Tool, when hovering over any part outside the layer in or out points, it will show automatically.
Just click and drag right or left from the transparent layer portion. Your video will be slipped.
